
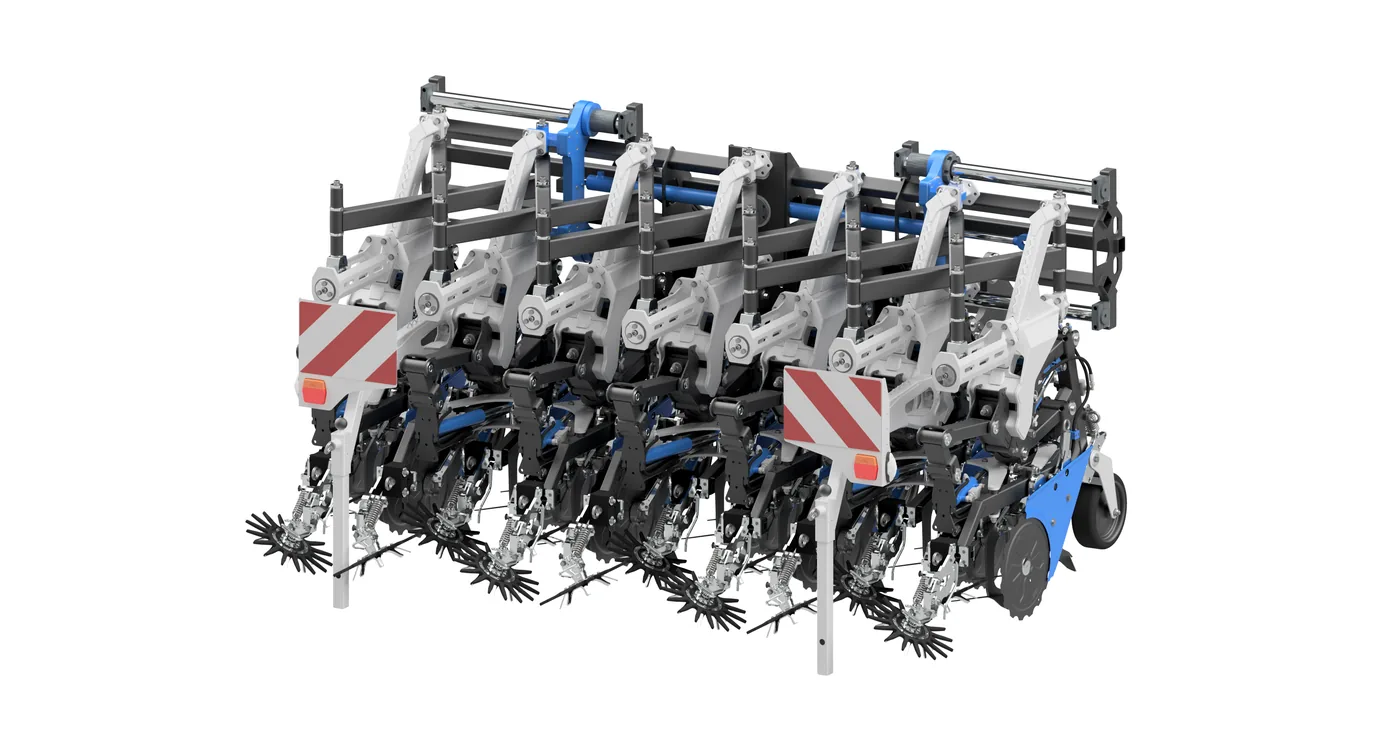
A cultivator is only as good as its setup. Even the highest-quality implement achieves little if hoeing depth, lateral guidance or share selection are not matched to the situation at hand. This article provides a general overview of what farmers should pay attention to when setting up their inter-row cultivator.
Before first use: the right preparation
Before the cultivator goes into the field for the first time, a careful basic setup should be carried out. This includes checking all moving parts for smooth operation, checking the bolted connections and – on implements with hydraulic functions – checking the oil level and pressure settings.
Important: read the operating manual of your cultivator before you begin the adjustment work. Every manufacturer has specific recommendations for its system.
Setting the row spacing correctly
The row spacing of the cultivator must exactly match the seeding row spacing of the crop. If it does not, there is a risk of damaging plants or leaving parts of the inter-row area unworked.
On manually adjustable implements: measure the row spacings in the field after seeding and set the share units accordingly. On electro-hydraulically adjustable systems – such as the VarioCHOP from SAMO – the adjustment can be made directly from the tractor, which saves time and reduces errors.
Setting the hoeing depth
The hoeing depth influences both weed control and soil impact. As a general rule of thumb: weeds are controlled most effectively when they are cut off or undercut as shallow as possible at the seedling stage. Too little depth lets weeds survive, too much depth puts unnecessary strain on the soil and can damage the roots of the crop plants.
The optimal hoeing depth depends on soil type, moisture and weed pressure and should be adapted to the situation. In practice, a short test run on a small section is recommended before working the entire plot.
Share selection: the right tool for the right job
The choice of share system has a major influence on the hoeing result. Common share types are:
- Duckfoot shares: Wide, shallow-working shares that undercut the soil between the rows over a large area. Well suited to dry conditions and shallow hoeing.
- Knife rollers and rolling hoes: Rotating tools that work particularly well in moist or crusted soils.
- Finger weeders: Flexible fingers that work close to the crop row and control weeds in the immediate vicinity of the plants without damaging the crop.
- Tine harrows: For use shortly after seeding or as a supplement to the cultivator. Suitable for so-called blind hoeing before crop emergence.
Which share system fits best depends on crop, soil type and personal experience. Many farmers combine different tools for optimal results.
Lateral guidance and flanged guide wheels
For implements without camera guidance, good mechanical row guidance is crucial. Flanged guide wheels run along the crop row and keep the cultivator exactly on course. They should be set so that they follow the crop row without damaging the plants.
Alternatively or additionally, feeler bars can be used to sense the row position mechanically. On camera-guided systems, the image processing takes over this task automatically.
Checking the settings during operation
Regular checks are also worthwhile while hoeing. After the first pass, check on a short section whether the shares are working the row cleanly, no plants are being damaged and the hoeing depth is right. With changing soil conditions – for example after rain or with varying soil composition – readjustment may be necessary.
Care and maintenance after use
After every hoeing pass, the implement should be cleaned and checked for wear or damage. Shares and guidance elements wear over time and should be resharpened or replaced as needed. Regular maintenance extends the service life of the implement and ensures consistent hoeing quality.
Conclusion: the setup makes the difference
A careful setup of the cultivator is just as important as choosing the right implement. Farmers who take the time to set up their cultivator properly and check the results in the field achieve significantly better hoeing results. If you have questions about setting up your SAMO cultivator, our team will be happy to help.